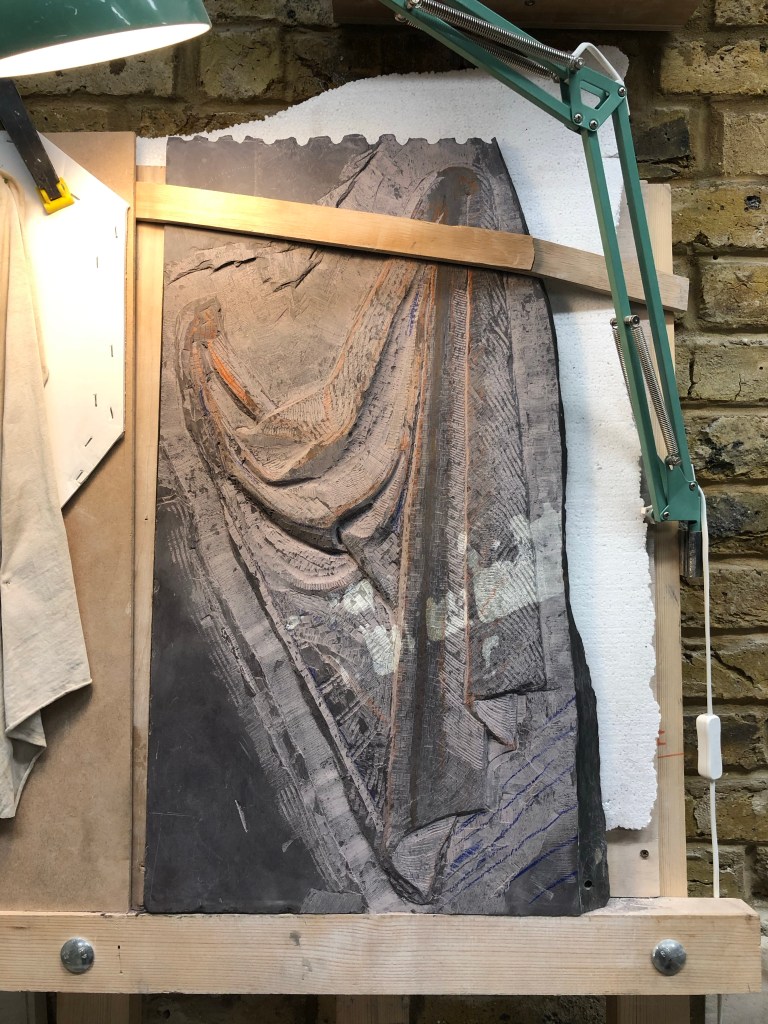
Drapery Carving
Started the day using a claw almost exclusively and working very tentatively. Need to make sure I don’t get lost in the claw marks and actually carve the stone. I did chip off a small piece and tried to glue it back on but the workshop still don’t have the right hardener for the glue so just carved it back.
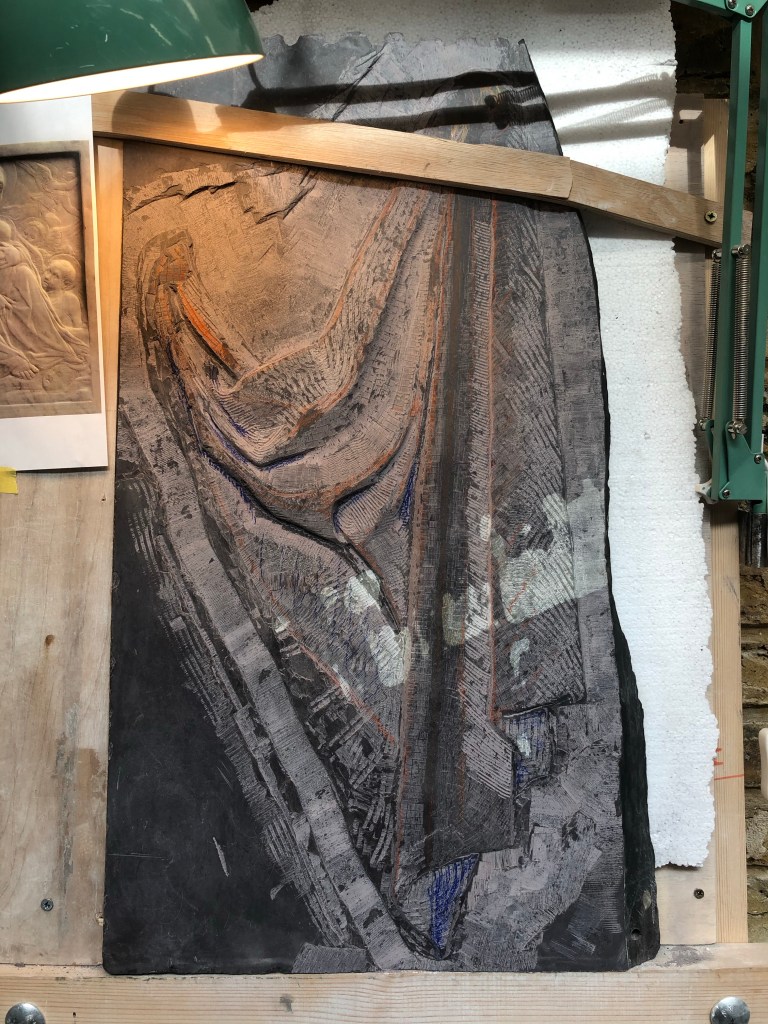
Nina gave me a very good demo and talk, one on one, at around 6pm. Will keep it brief as I have almost two pages of notes on it. But she said to keep the information, on this kind of relief, to a bare minimum to get the message across and not to literally carve, but hint at information. Simply imply the changes of planes and folds by changing how you use the chisel and the type of cut you make. Using a chisel draw where you want the eye to think the drapery is going. Nina talks a lot about the subtlety of the drapery, and how I have to think of this when carving.
Hard versus soft decisions, this refers to the soft changes of planes across a length of cloth. Whereas hard changes mean where the cloth folds over itself or goes under. This creates a ‘hard’ shape/shade. To help with this Nina said to use a dark (HB or lower) pencil to shade where you want the shade to see how it looks.
The last thing Nina said to do was to get the skeleton of the whole piece in before focusing on the details of folds. I guess this is the same as carving the volumes.

Leave a comment