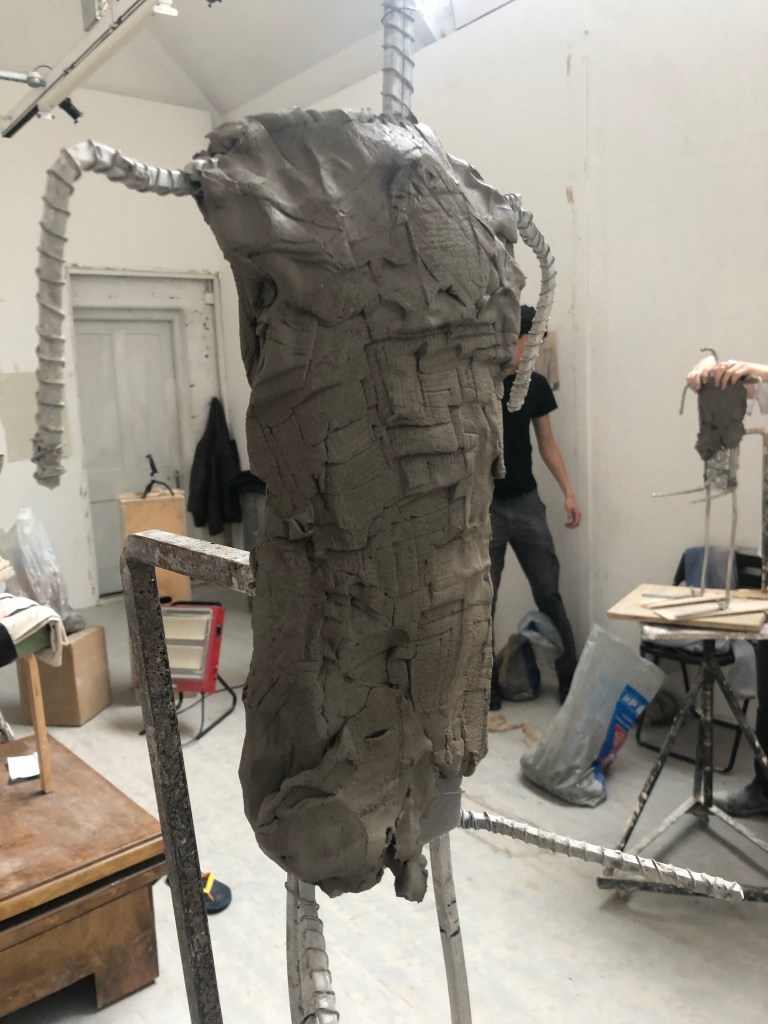
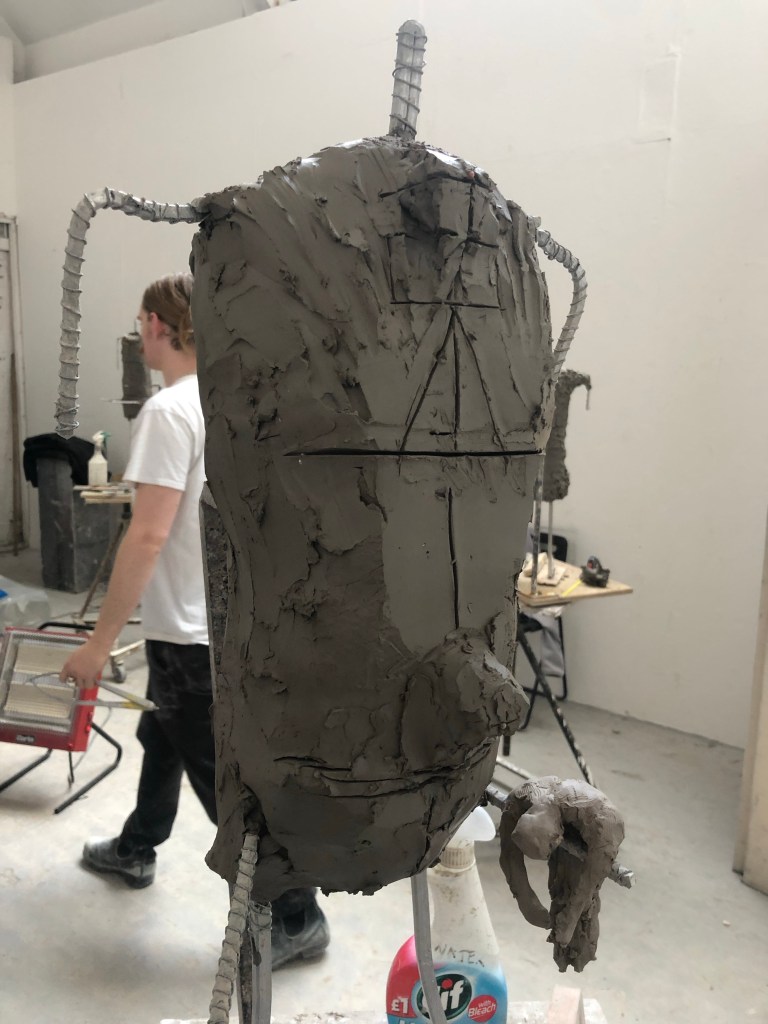
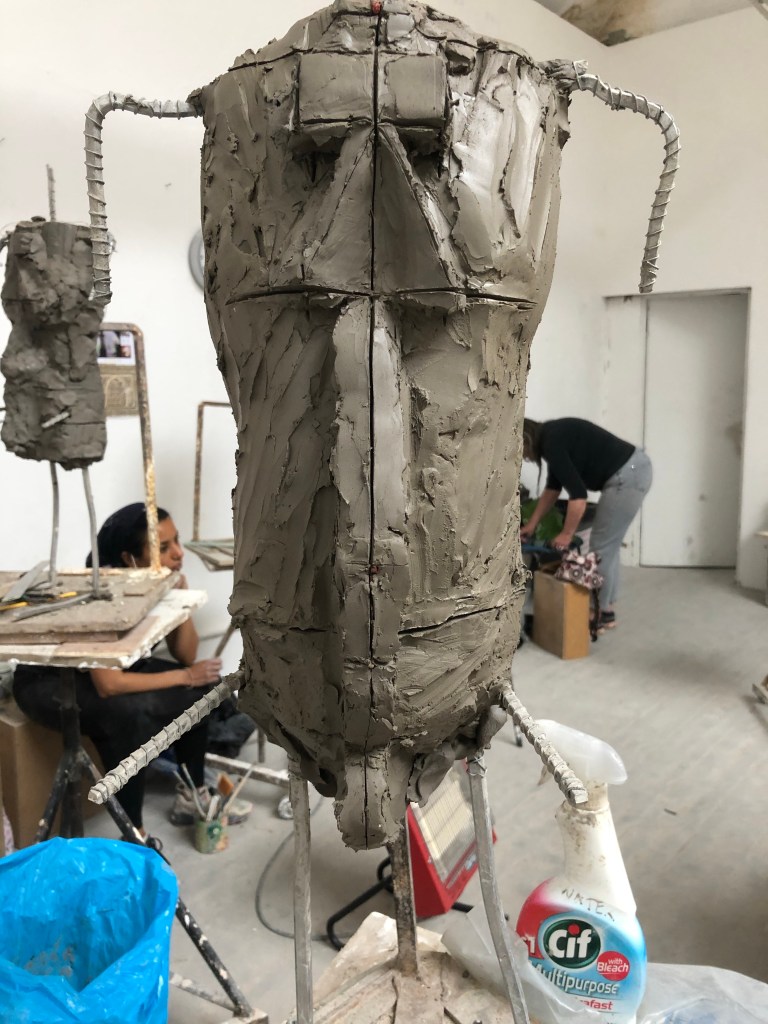
Torso Modelling
We started by covering the armature with a layer of clay, smacking on with a stick to make sure it was compacted. Making sure not to be too heavy too soon. The first point we found was the sternum notch, marking this on with a match so it doesn’t change throughout.


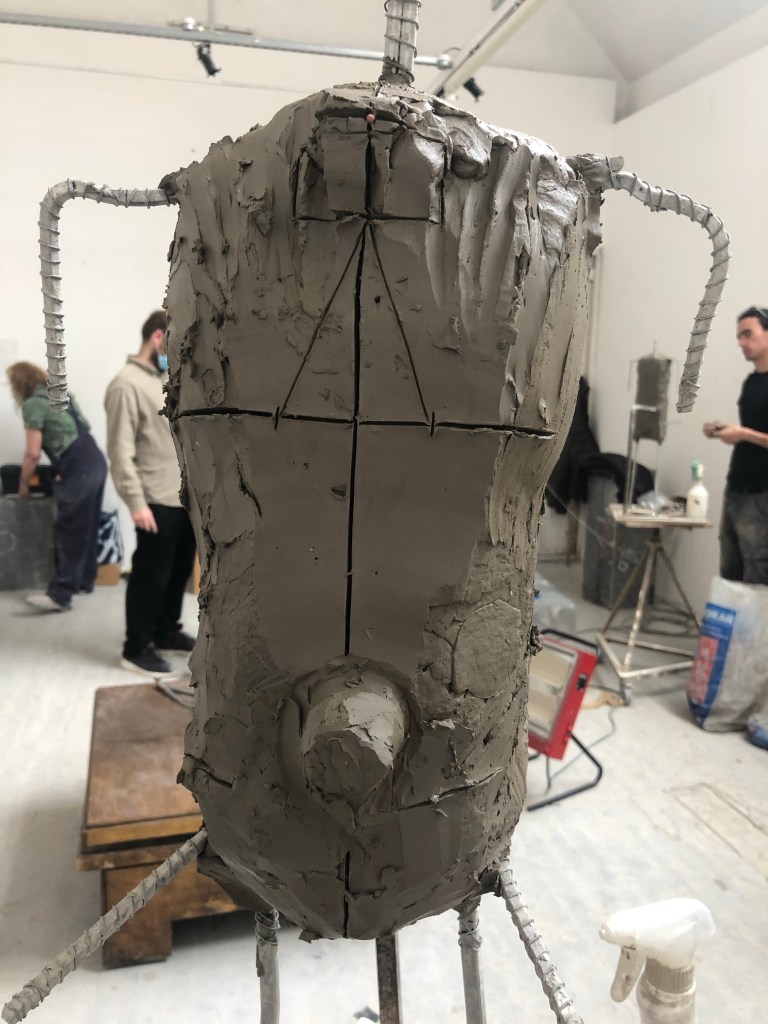

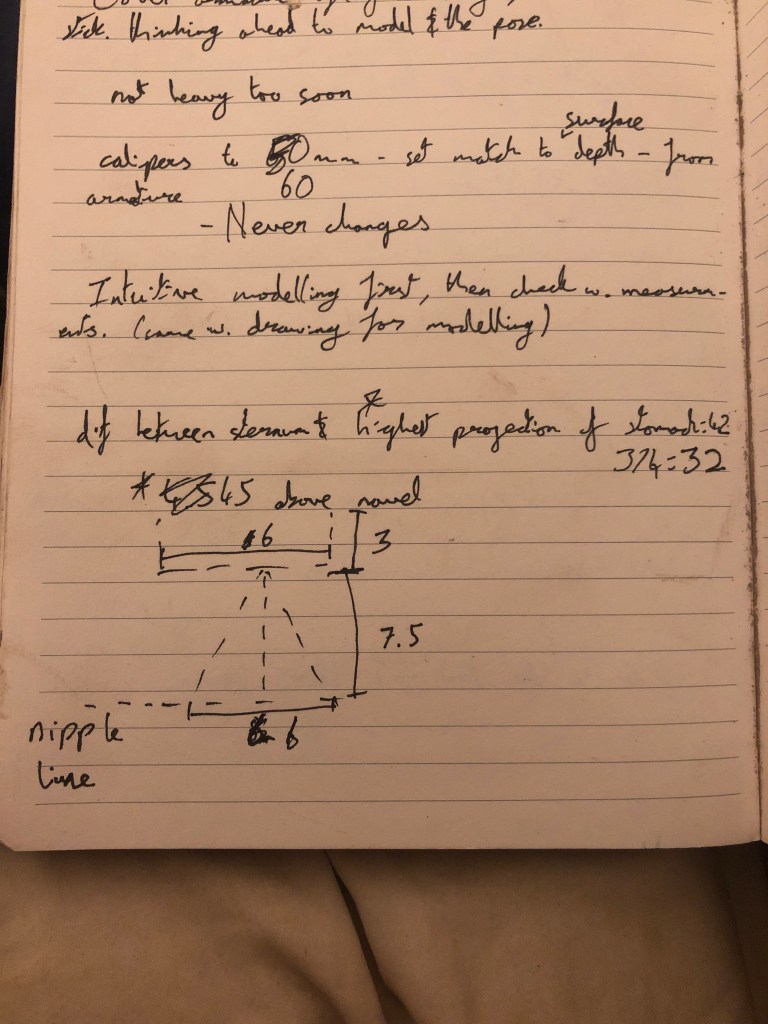
Before lunch I made sure to double and triple check all of my measurements. So coming back from lunch I’d have no issues.
After lunch we started modelling the profile. mostly intuitively and quickly, Kim recommends this way of working (to me, says some people work better like this, she’s very encouraging, despite my lack of modelling skill).

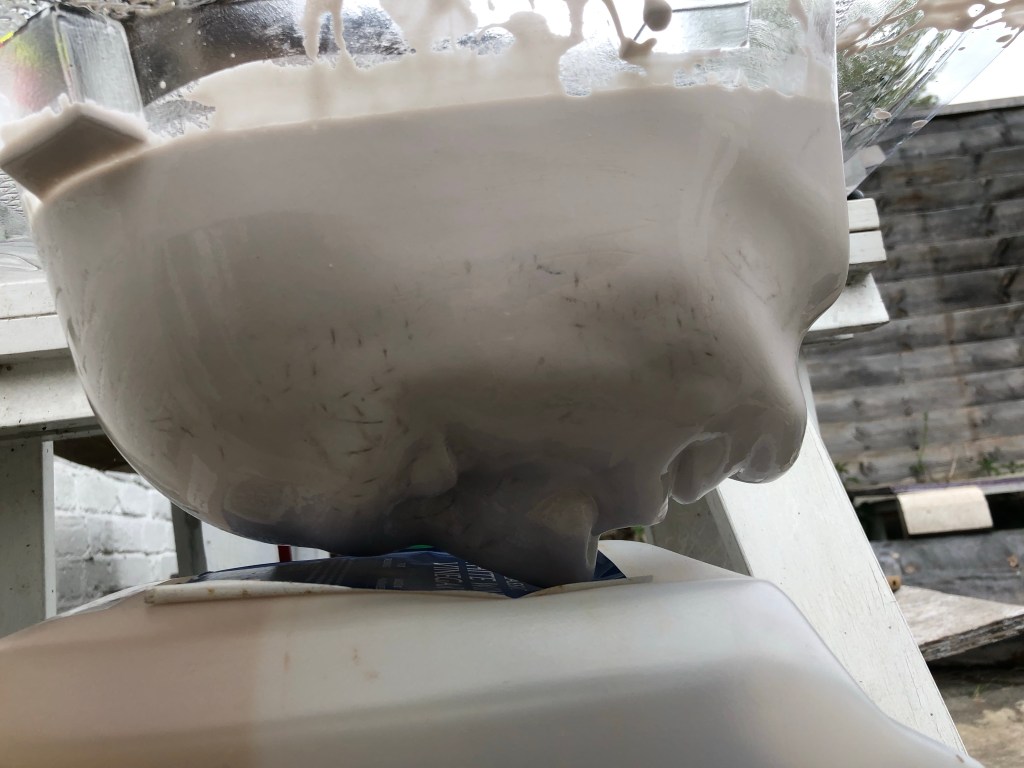
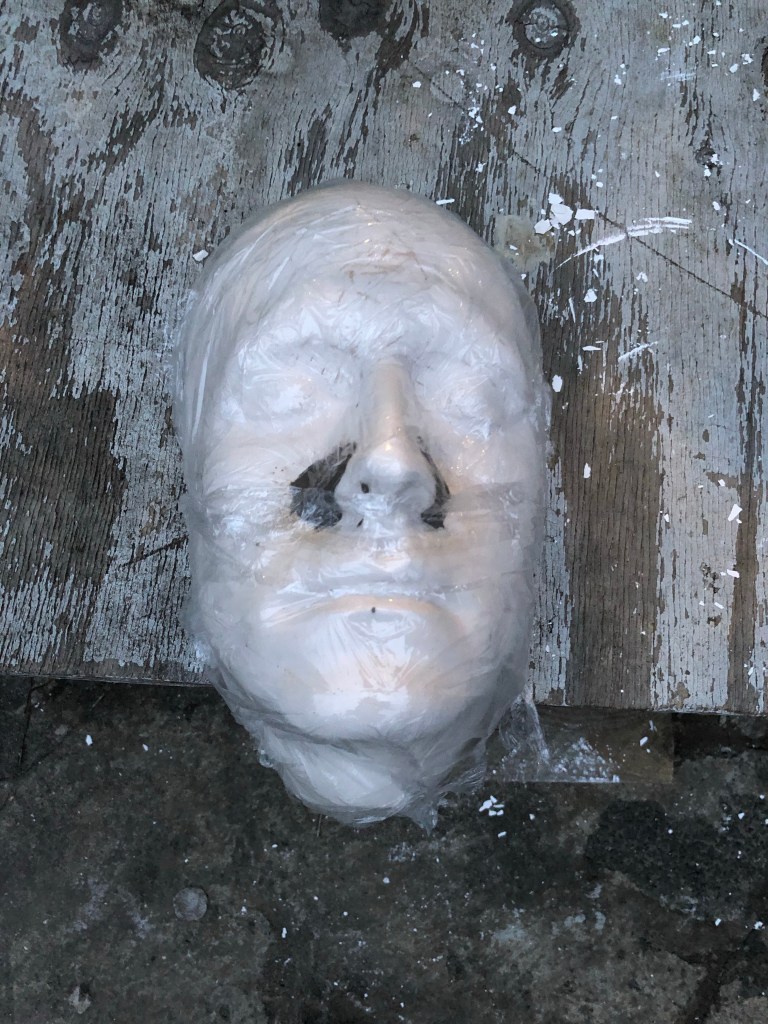
FotG
Plaster face came out well, reinforced with hessian. Then did a shell in bonding as the ‘waste’ mould to pour metal directly in.


Leave a comment