Portait Modelling
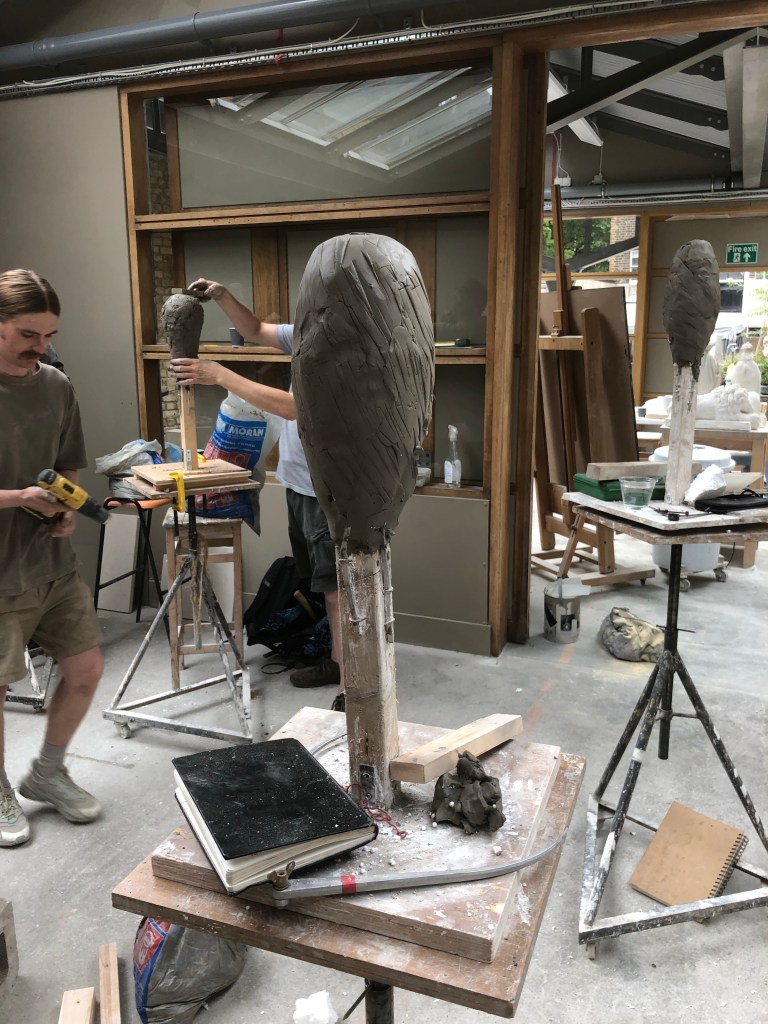
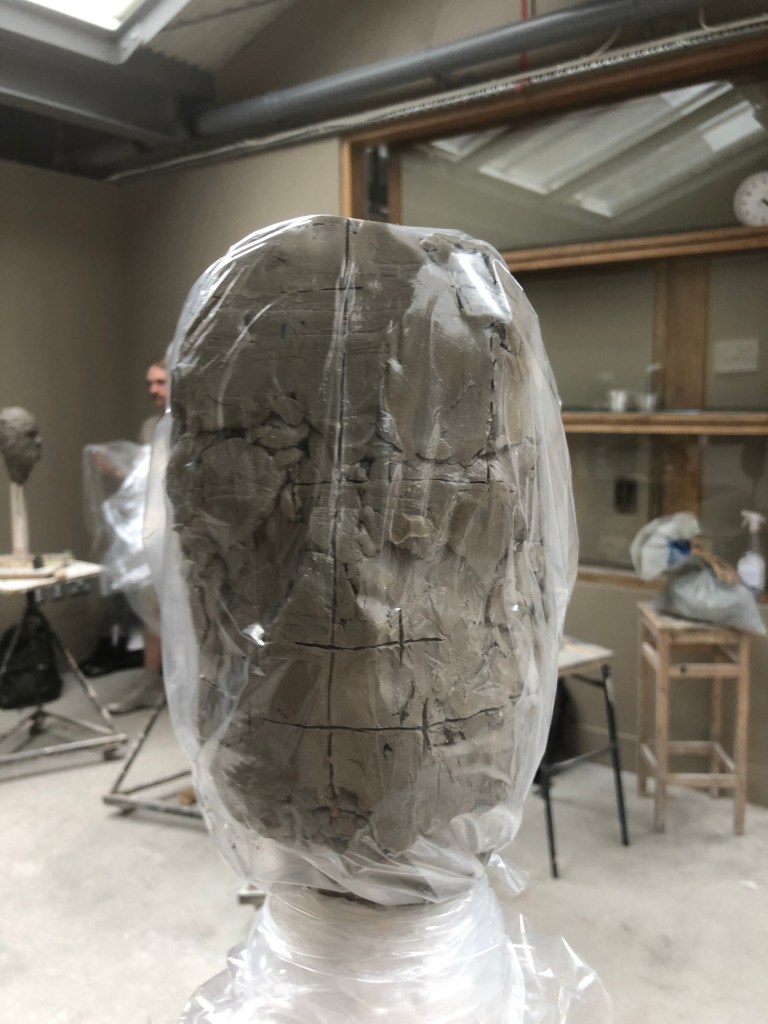
First day of the two weeks, spent the morning setting up armature and studio space, was nice being back in the studio.
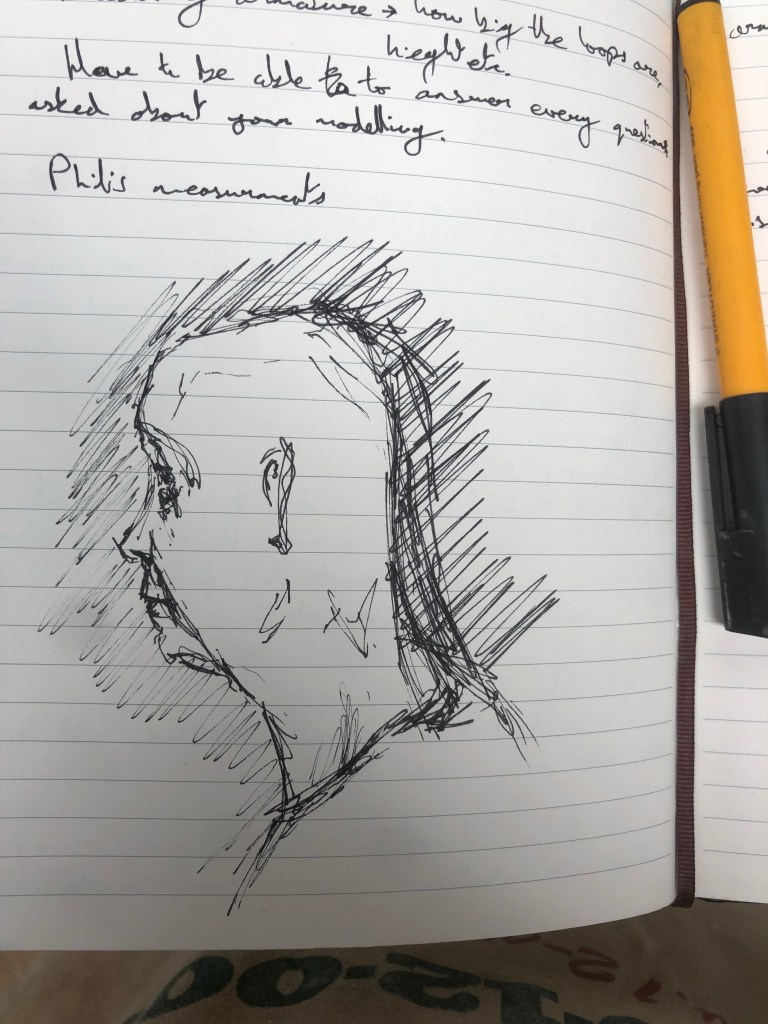
The armature should fit inside the head by a long way, coming just above the eyebrow. However, can be as low as the eye level. If modelling the shoulders you should attach a crossbar on the front of the bust peg, making sure it fits well within the shoulders. When attaching the aluminium, put the staples in as diagonally as possible to ensure the wood doesn’t split. we then filled the cavity of the aluminium loops with polystyrene (do this for casting as you want the clay to stick, but for firing see notes on the skull modelling, i.e. fill with plastic).
We started the modelling by sculpting a match stick shape to the right height, using the wood of the bust peg as an absolute representing the sternum notch.
From here we measured a series of points, using the sternum notch as the starting point. First was the mental eminence of the chin, then centre line of the mouth, underside of the nose, eye level and finally the start of the curve of the skull.
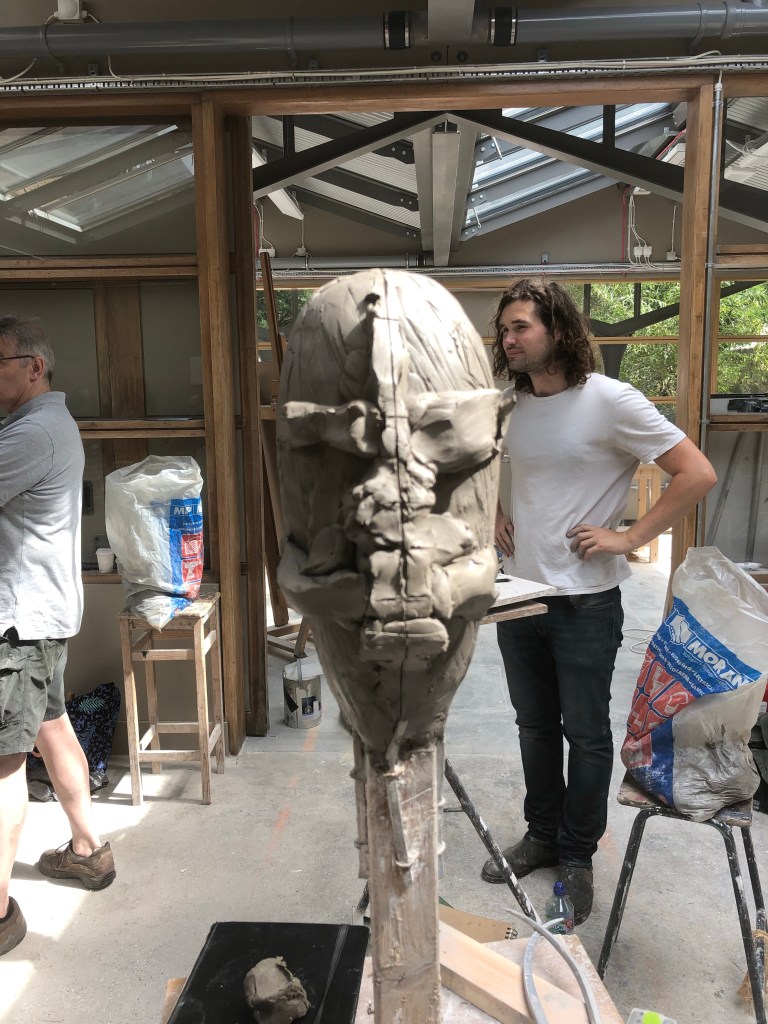
We then started on some widths to help us apply volumes, starting with mouth, nose and finally the eyes.
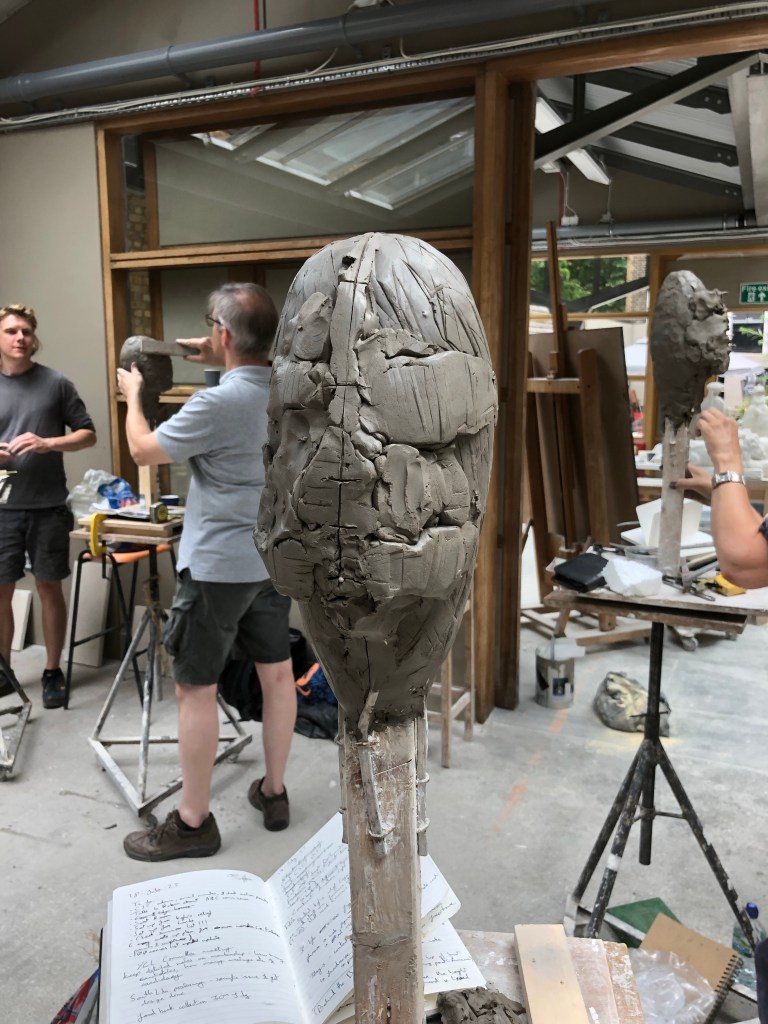
Finally we checked the width of the whole head, luckily mine was close from the beginning, due to the thickness of the matchstick I modelled at the start of the day, so not much need to be added.
Have some questions to resolve tomorrow, for instance the tragus notches are meant to be between the bottom of the nose and the top of the mouth, however mine were inline with the nose.

Leave a comment